Bonus content from the May 2010 REPTILES magazine article "From Russia with Love."
 |
Captive-bred Russian tortoises (Agrionemys [Testudo] horsfieldi) should be the only pets when looking to purchase this species. They are less likely to harbor parasites and disease. They have not experienced the stress of capture that can strain their health. And they adapt to captivity easily given that they have known nothing else.
When selecting a tortoise to start your own breeding program, buying a captive-bred animal is the only way to go. Check out the background of any breeder you are considering buying from and set up the appropriate environment for your captives before every bringing them home. They should have indoor and outdoor access as needed.
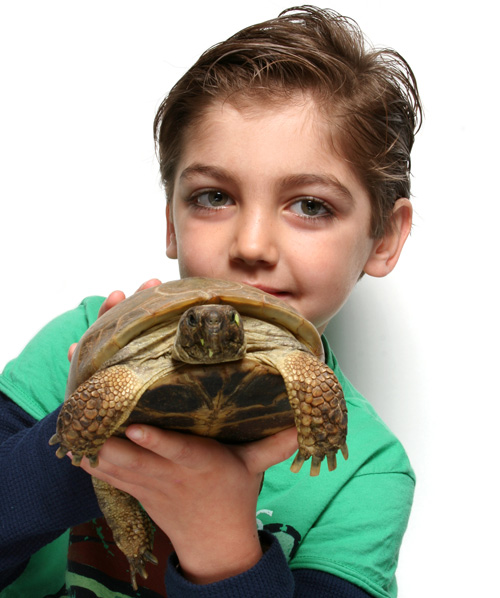
The Russian tortoise is known to be personable and easy to care for.
The First Step
While it is appropriate to think that all you need is a male and a female, there is more to it than that. With only one of each gender, the male can wear out the female and may even cause her to have health issues. You want him to be able to spread his attentions around. A ratio of one male to three females will lead to a higher breeding success rate.
This will give the females a break from the male’s attention and also gives you a chance to examine behaviors and document them for reference in future breeding projects. This means that if you notice one of the females tends to ignore the male, or maybe she lays all slugs (infertile eggs) one year, observing and recording these factors will help you adjust future breeding efforts.
Hibernation
Next to size, one of the most-often-asked questions about Russian tortoises is if they should be hibernated. In my experience, males should be an average of at least 5 inches total length and females a total of 6 inches before they hibernate. I have heard reports of smaller, but the most successful attempts have been around these sizes.
Before hibernation, you should gradually decrease the amount of feeding until you are sure that their bowels are completely empty. This assures that there will be no food to ferment in the gut and potentially cause infections.
Hibernation is usually achieved naturally if tortoises are kept outside without human intervention. As the seasons change, they automatically hibernate themselves. In an indoor enclosure, I shorten the light cycle to match the daylight cycle outside. I also gradually drop the temperature from the ambient 75 degrees to 50 degrees or below over a period of three to four weeks during the onset of the winter season in my area of California. At the end of the cycling process, the heat should be completely off and the lights coinciding with the regular daylight outdoors.
Hibernation lasts about three months, and then the temperature and light cycle changes to match what is going on outside. When reheating tortoises, you will see them become active again. Males will typically become very restless and begin searching for females immediately. Females will also become restless and may become disinterested in feeding. I offer food immediately following hibernation but don’t expect females to eat for a few days to possibly a week after emerging. Any longer than a week and I would have them examined by a reptile veterinarian.
Mating often happens within a month of coming out of hibernation and is somewhat of a comical display. Males will circle and bob their heads while the female tries to escape these amorous advances. The male also may bite at her forelegs, which I think may be his effort to get her to stop running away. Once the male has mounted the female, he will gape and begin squeaking. I have seen this last about 20 minutes at the longest, but I have heard of shorter and longer time spans.
Egg-Ready
Within a month of fertilization, the female will begin to get restless and may begin to dig test holes. For indoor tortoises, provide a 6- to 8-inch deep nest box after mating has occurred. The nest box should be just big enough to allow the female inside and be able to move or turn comfortably, much like the hide box. Fill it with a 50/50 mixture of sand and garden loam or expandable bedding. Substrate for indoor nesting should be 3 to 4 inches deep and moist enough to hold its shape when squeezed but not have water coming out when doing so. I usually go with a 4-inch depth to make sure the female has enough depth to dig in, but as mentioned previously, she may just lay eggs all over the place in an indoor environment.
For tortoises laying eggs outside, provide the same type of area. It doesn’t need to be sheltered. Simply use a mixture of the same substrates mentioned above to allow her to dig a nesting hole somewhere with plants around, so she has something to grip while digging.
No matter how great the nest box is, sometimes if they are indoors, they will lay eggs in the open. Females outside will also dig a number of test holes, so look for these as a sign she is getting ready to lay eggs. Just before the tortoise is ready to lay, she will patrol the perimeter of the enclosure and typically refuse to eat completely for up to two weeks.
The average female lays anywhere between one and five eggs per clutch. Before eggs are laid, set up a container with vermiculite mixed with water, in equal parts by weight. The container I use is about 10 inches long, 7 inches wide and about 4 or 5 inches deep. Once the eggs are laid, very carefully dig them up with a spoon so that you are less likely to tear the eggs accidently. A flat ladle also works well for this. Do not turn or roll them in any way. This is important, as the movement can actually detach the embryo inside, destroying the egg.
Gently bury the eggs about halfway into the vermiculite, and place either a dampened paper towel or sphagnum moss over them. When dampening the medium of your choice, squeeze it out before placing it over the eggs to make sure it’s not too wet. Excess moisture can cause mold and kill the eggs.
Always preheat your incubator and have it set up before placing the egg container inside. The temperatures should be set and stable first before introducing eggs. Sex is temperature dependant. In this case, it means that a temperature of 89 degrees Fahrenheit produces more females, a temperature of 86 degrees produces a mix, and temperatures lower than 86 degrees produce more males. I have seen ranges of temperature recommended anywhere from 84 to 95 degrees. I have read reports of temps above 90 possibly causing low hatch rates. I have never personally gone beyond the 90 degree mark.
Somewhere between 12 and 18 weeks hatchlings will appear if all goes well. They often exit the egg with the yolk sac still attached. Do not rush them. Let them hatch on their own. I would keep them in the incubator at this stage until the yolk is fully absorbed. Then you can move them to an enclosure that is set up just like that of the adults. As far feeding is concerned, the newborns typically won’t begin eating until their yolk sac is fully absorbed. When they are ready to eat, I feed them daily with the same food I feed to adults, but I shred or chop it into appropriately sized pieces for their smaller mouths. Meals are dusted with calcium every day.
Want to read the full story? Pick up the May 2010 issue of REPTILES, or subscribe to get 12 months of articles just like this.