With regular maintenance using this step-by-step guide, you can keep your turtles healthy and happy for years to come.
Keeping aquatic turtles in a clean and healthy environment is essential for their well-being. Routine water changes are a crucial part of turtle care, but this can often be a daunting task for keepers. In this guide, we’ll walk you through a simple and efficient method for cleaning your turtle’s captive enclosure. By following these steps, you can maintain a clean and clear habitat for your beloved reptiles that can be used supplementally in between deep cleaning. This is not intended to be a deep cleaning water change tutorial, but instead a quick, spot cleaning version for when a deep cleaning may not be necessary.
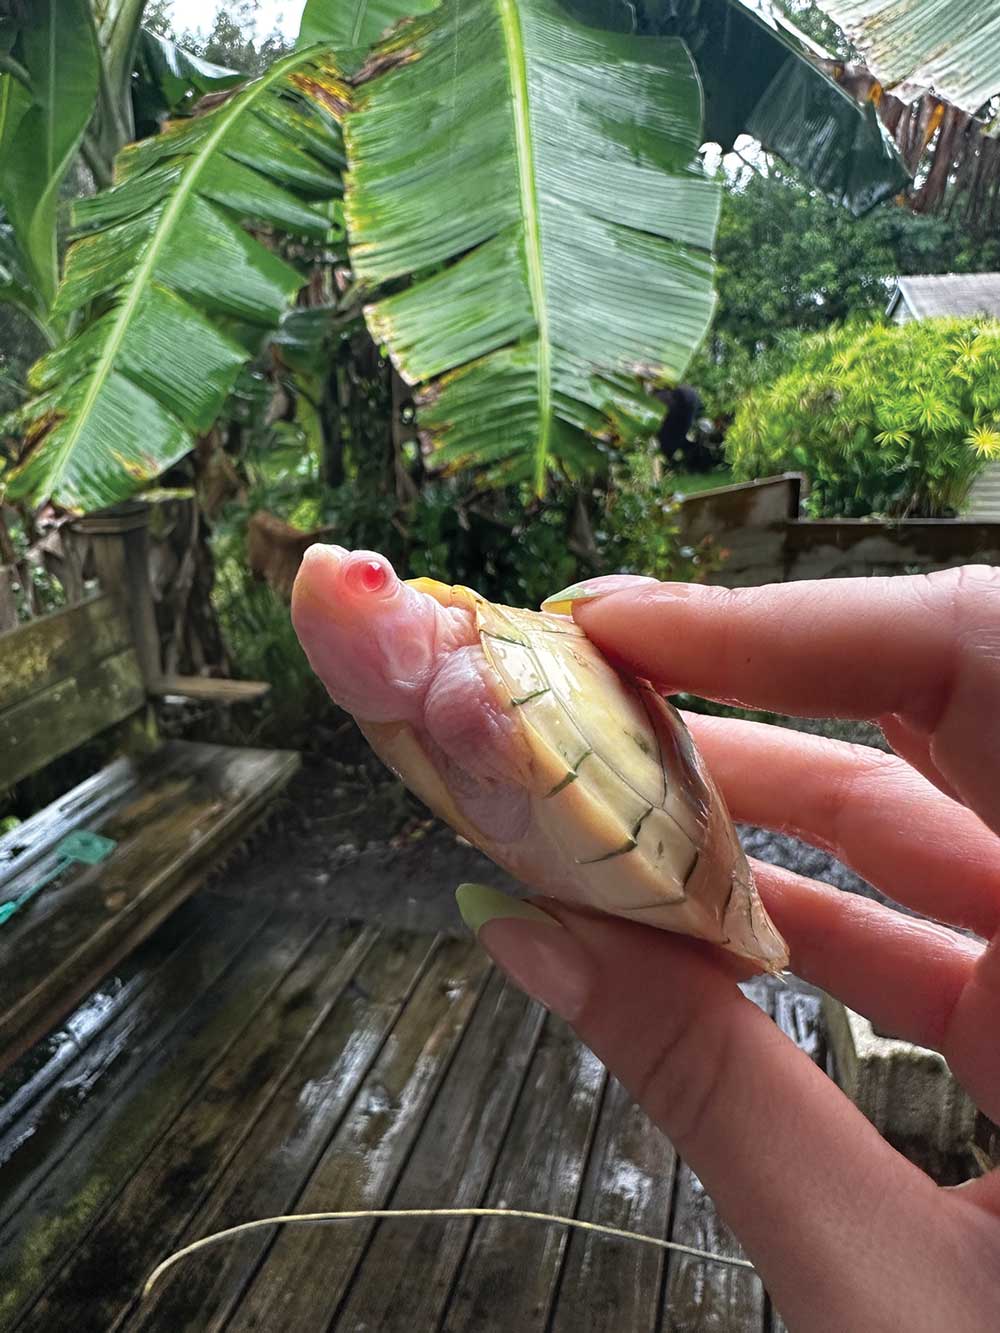
The author has been breeding red-eared sliders for years. Photo by Rebekah Calleja
It is important to note that each reptile species requires specific care and trial and error may be required for each scenario. Research is encouraged to find the best fit for captive management. Despite the range of captive habitats that can be used for aquatic turtles, regular cleaning is essential for them all. This can become burdensome for many keepers which can even lead to sub par care. This method can be considered a supplemental method of water changing that can be implemented in between deep cleans. It does not include filter changes or cleaning.
Turtle Water Change Materials
You need the following materials for this cleaning method:
- Aquatic turtle habitat
- Submersible pond pump
- Two garden hoses
- Water source
- Waste area
Step 1: Notice The Habitat Is Dirty
Before beginning the cleaning process, it’s essential to recognize when the turtle’s habitat needs a water change. This could be once every other week to every few days. This will depend on each keeper’s specific habitat and animals, so daily monitoring is always required. Look for signs of water pollution such as debris, cloudy water, or an unpleasant odor. If multiple turtles are kept together, monitor their behavior, as scratching or restlessness can indicate discomfort from unclean water.
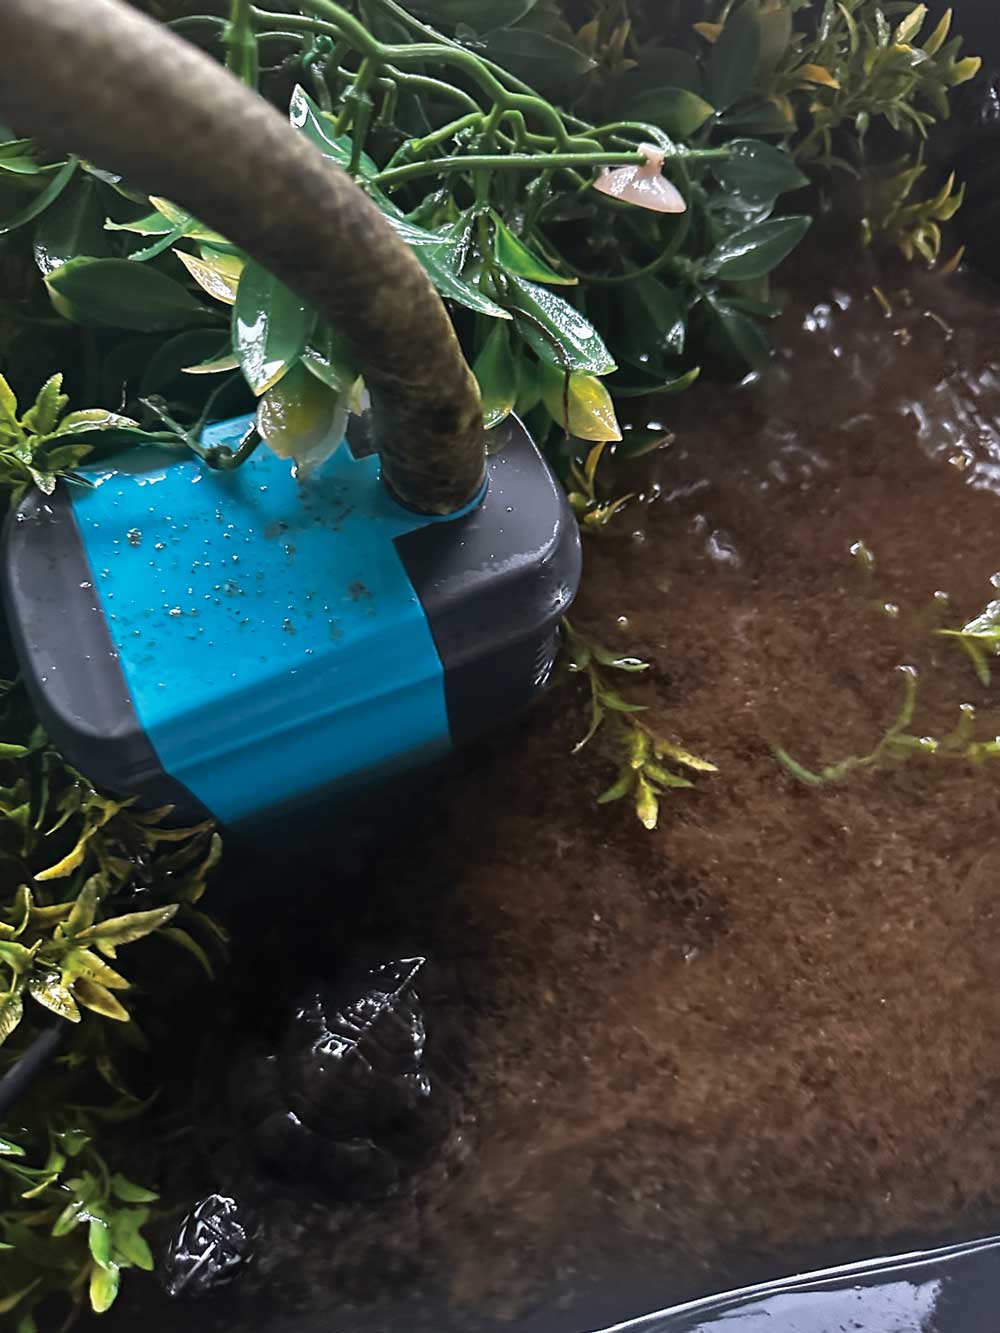
After pumping the dirty water out, run the pump in clean water to help remove any debris accumulated in the pump mechanism and drain hose. Photo by Rebekah Calleja
Step 2: Drain The Water Until It Gurgles
The initial process is to drain the water out quickly and effectively. It is recommended to remove turtles and place them in a safe space while cleaning or very carefully watch them so that they do not hurt each other in any way.
To drain the water, attach a standard submersible pump to a long garden hose that can reach an outdoor waste area. Cut the end of the hose and attach it to the submersible pump, ensuring that the hose end fits the pump attachment (typically ⅝ inch). Ensure the outlet is nearby to avoid any mess when the pump is eventually turned on.
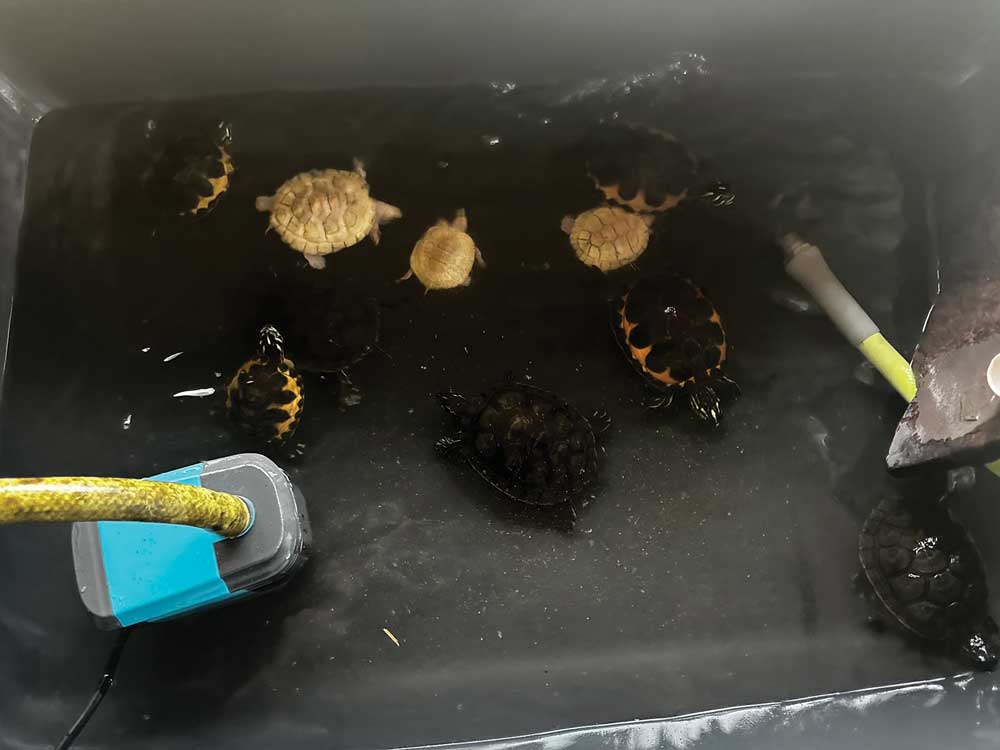
Placing the pump in the turtle tub. Drain the dirty water until it gurgles. Photo by Rebekah Calleja
Place the pump into the water, making sure the other end of the hose is positioned outside or in your chosen waste area. This method eliminates the need for the traditional bucket approach which makes it much more convenient. Only plug in the pump when you’re ready for the water to drain out. Once you are ready, plug it in and it will turn on and begin sucking the dirty water.
Step 3: Once The Water Drains, Add Clean Water Source
As the water begins to drain, continue until it gurgles, which indicates that no more water can be suctioned. Then, simultaneously attach a regular hose to your water source and start filling the aquatic habitat with fresh water, maintaining a slow flow.
Ensure that the submersible pump and the hose are on opposite sides of the habitat to avoid wasting fresh water. This setup allows for circulation which helps collect any additional waste and get the aquatic habitat fresh and clean for the turtles.
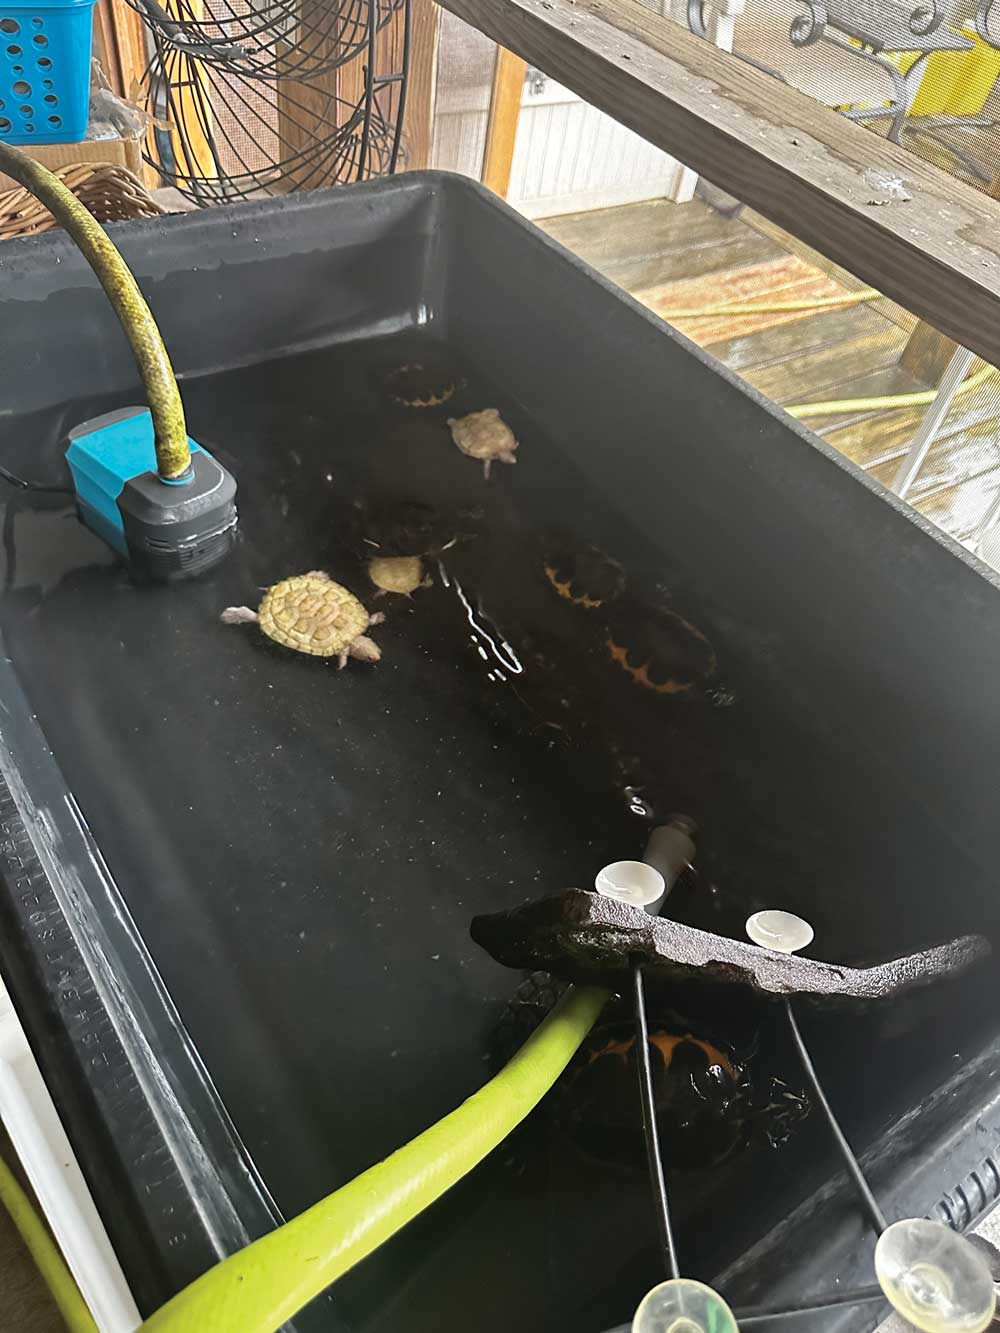
Adding water as the pump suctions dirty water. Photo by Rebekah Calleja
The cleaning process may take up to 30 minutes, so keep an eye on it until the water is absolutely crystal clear. You may see particles of waste during this time until circulation has cleared everything. Make sure the hose remains on a low setting to prevent overflow. The pump may continue to gurgle as it operates, but this is normal as it’s sucking in air. You’ll know everything is set up correctly if you hear this sound! Run the hose and pump until the water is noticeably clear, indicating a successful water change. Add water conditioner.
How To Build A Basic Outdoor Tortoise Pen
Step 4:Once Water Is Clear – Unplug The Submersible Pump
Once the water is clear, unplug the submersible pump while it’s still being filled with clean fresh water. Remove the pump, and you’ll notice the water level begins to rise, as it’s no longer being suctioned. As soon as the water reaches the desired level, turn off the hose.
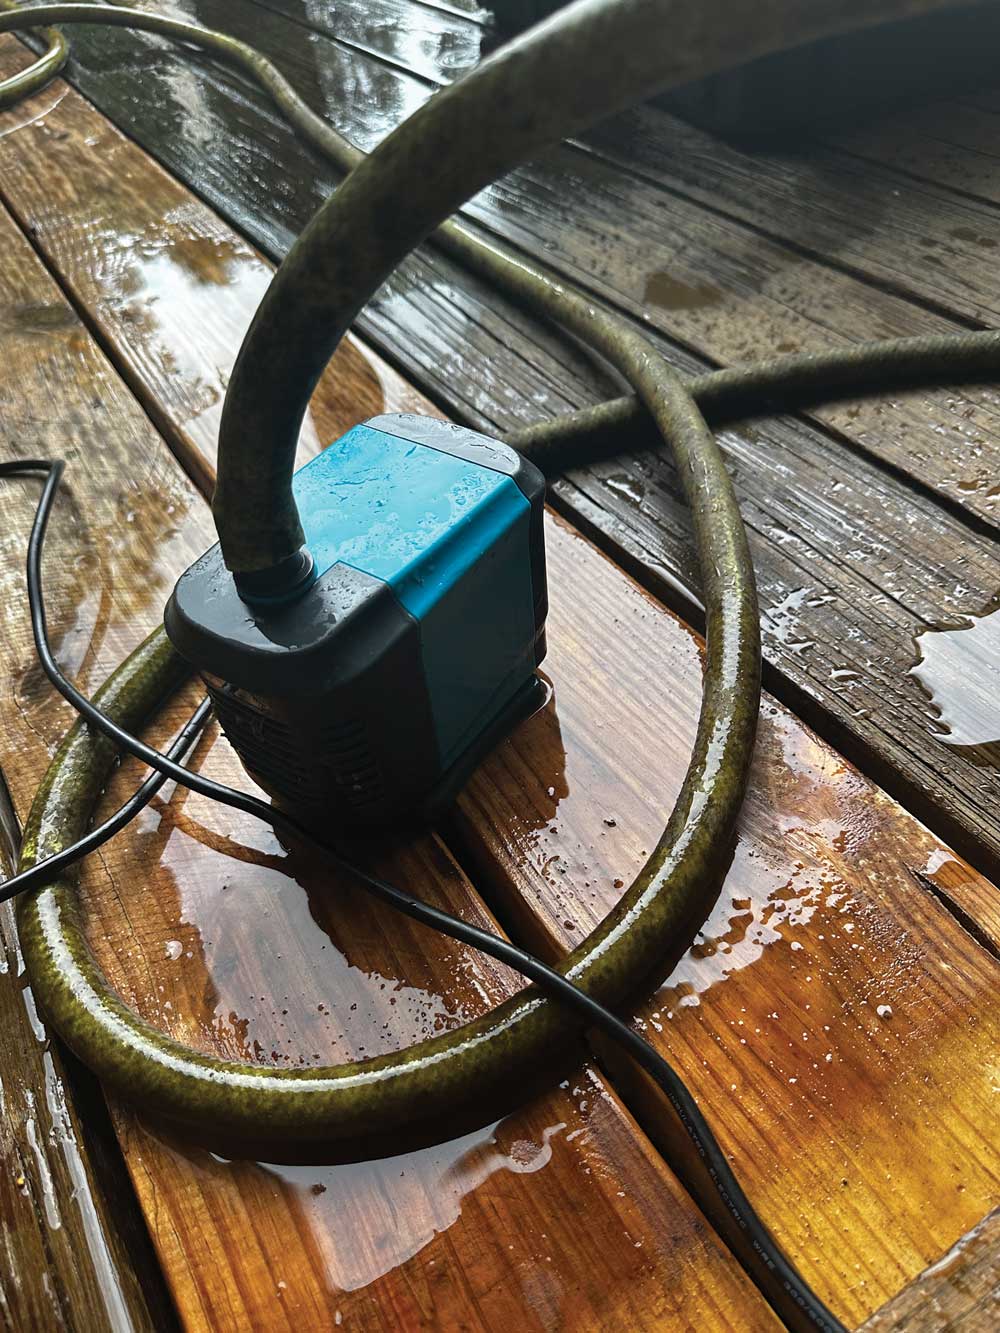
Submersible pump makes it easy to clean your turtle’s tub, tank or pond. When finished, pump some clean water through to ensure it’s clean for the next cleaning session. Photo by Rebekah Calleja
And finally, there you have it. A clean turtle tub that your aquatic reptiles will love! This efficient method eliminates the hassle of strenuous water changes and ensures your turtles enjoy a pristine environment. With regular maintenance using this step-by-step guide, you can keep your turtles healthy and happy for years to come.
Rebekah Calleja is a middle school teacher and reptile breeder based in Florida. Follow her on Instagram at @trademark.exotics


